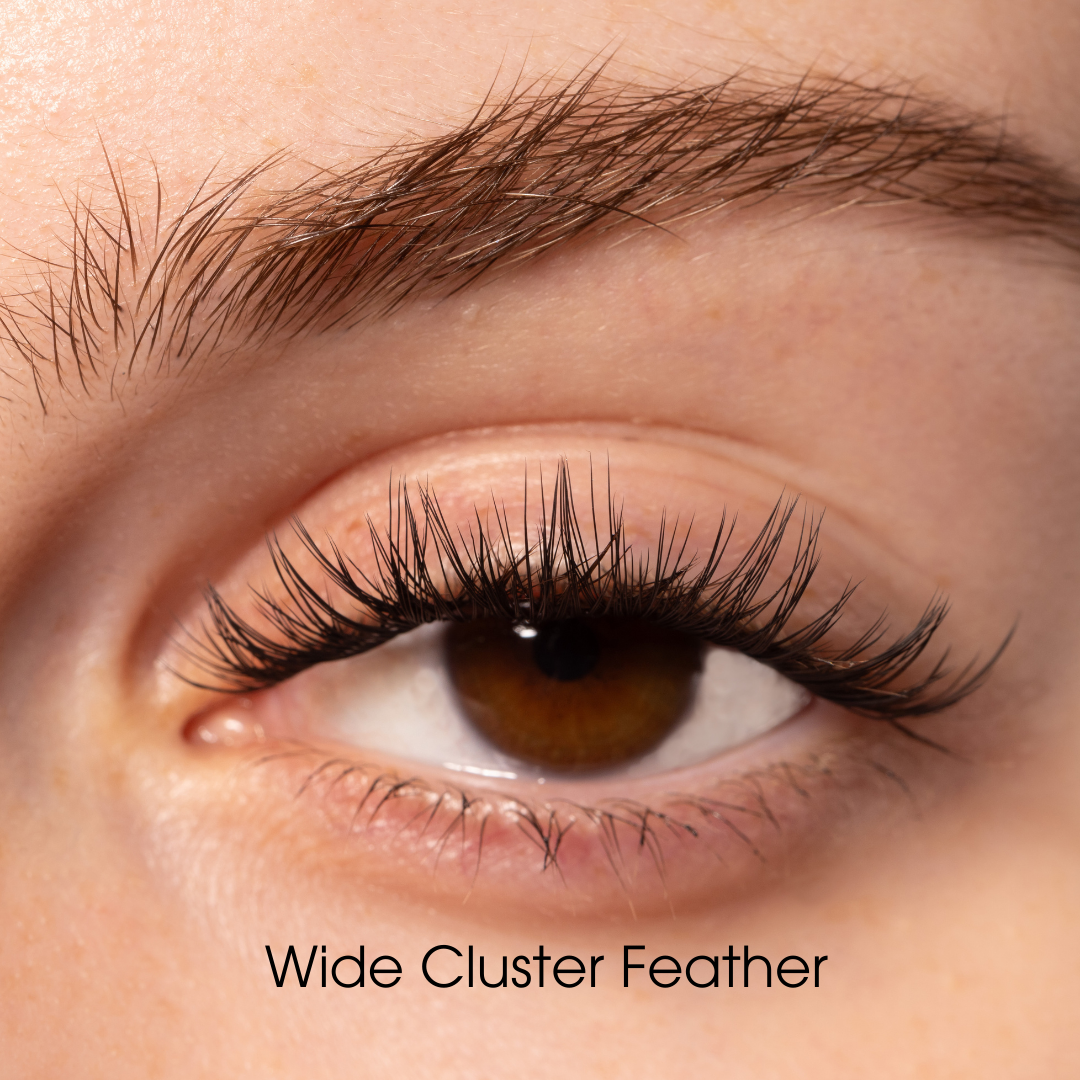

 Image 1 of 10
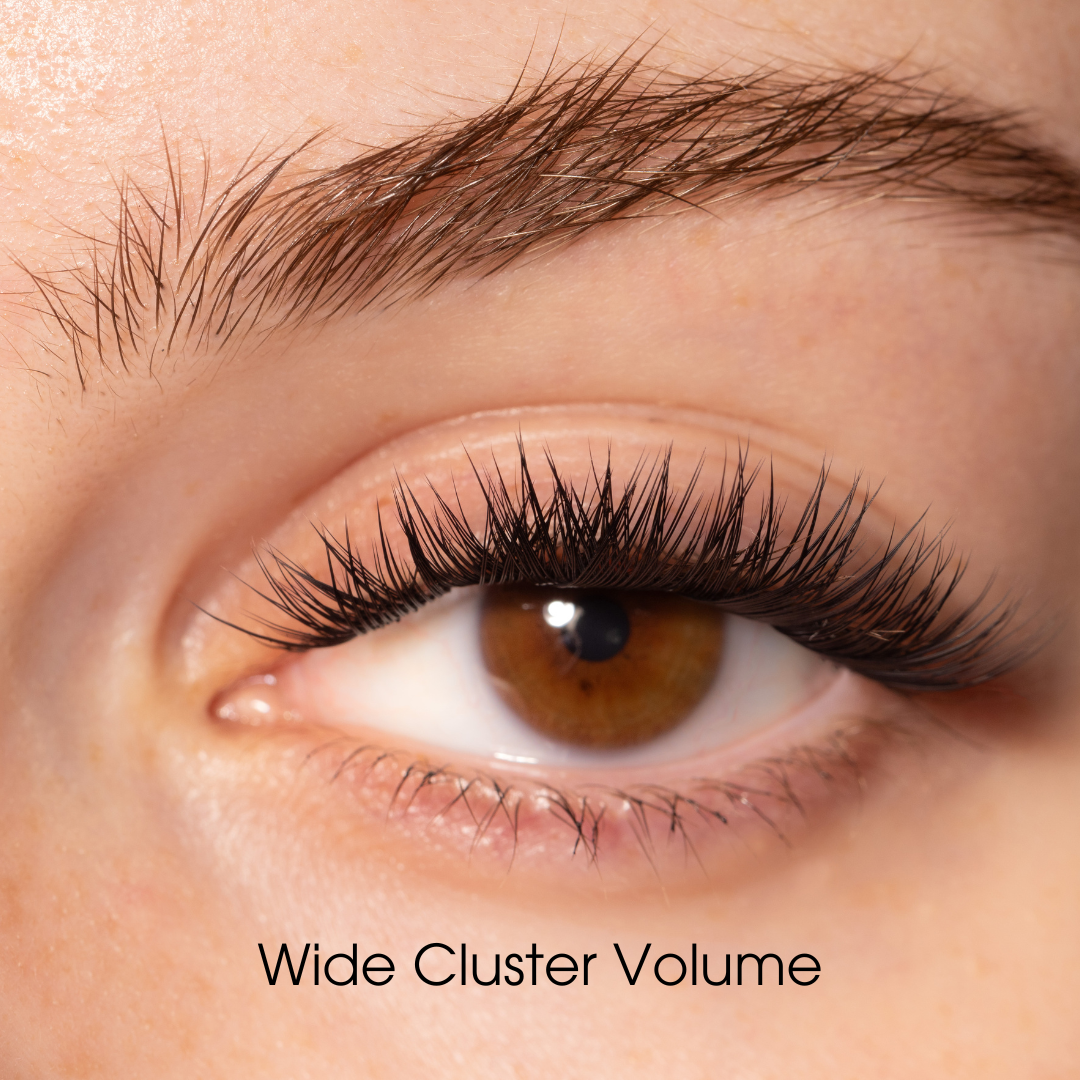
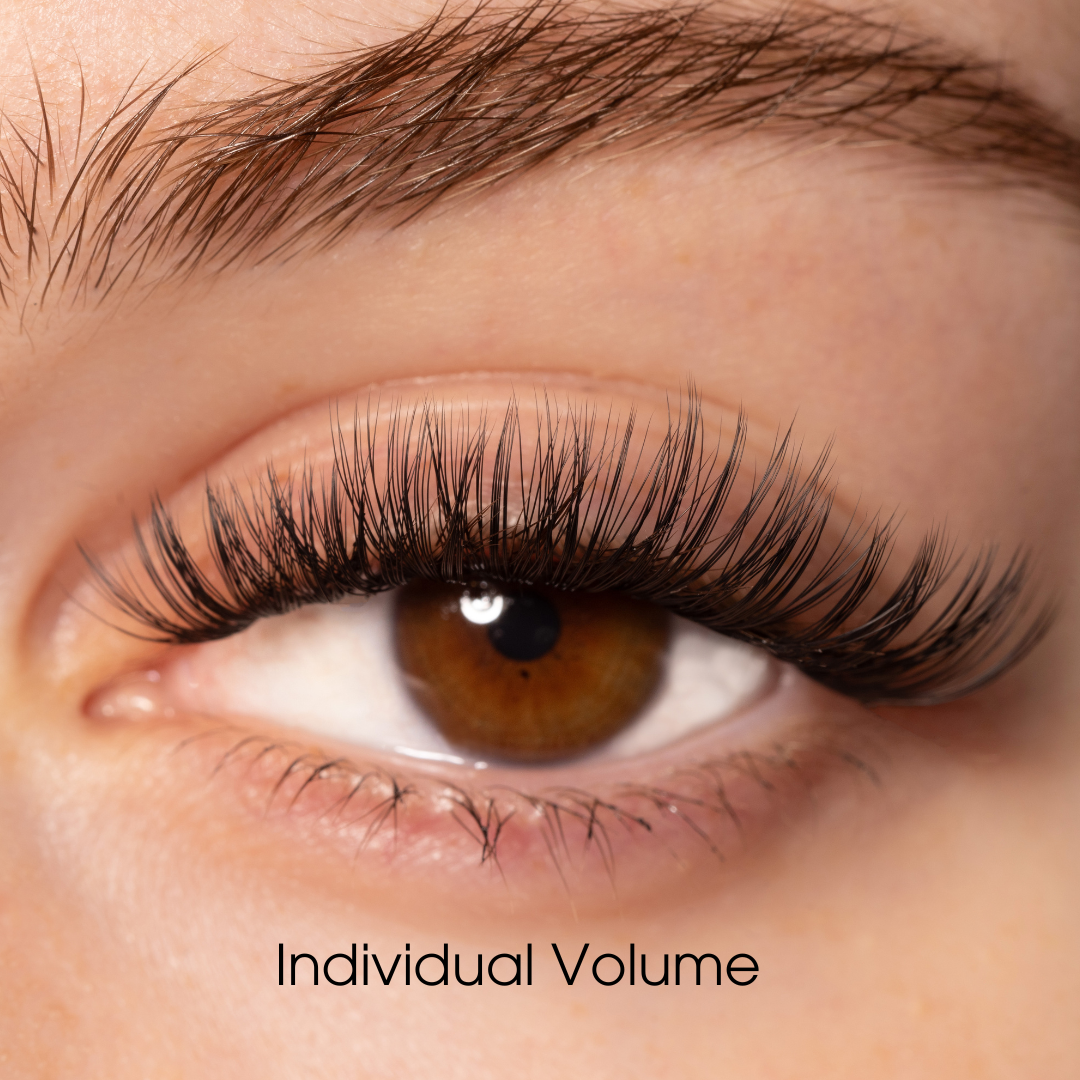 Image 2 of 10
 Image 3 of 10
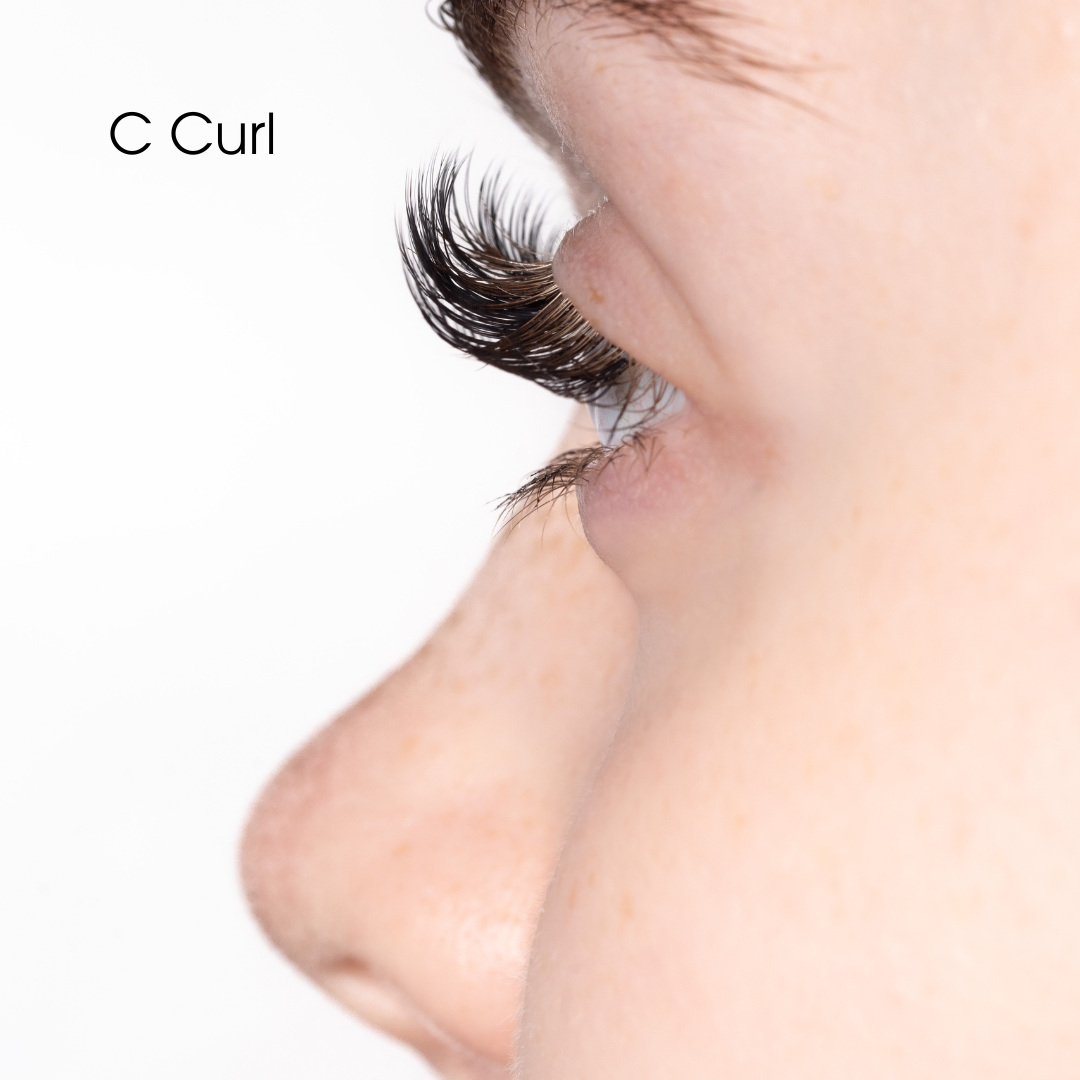 Image 4 of 10
 Image 5 of 10
 Image 6 of 10
 Image 7 of 10
 Image 8 of 10
 Image 9 of 10
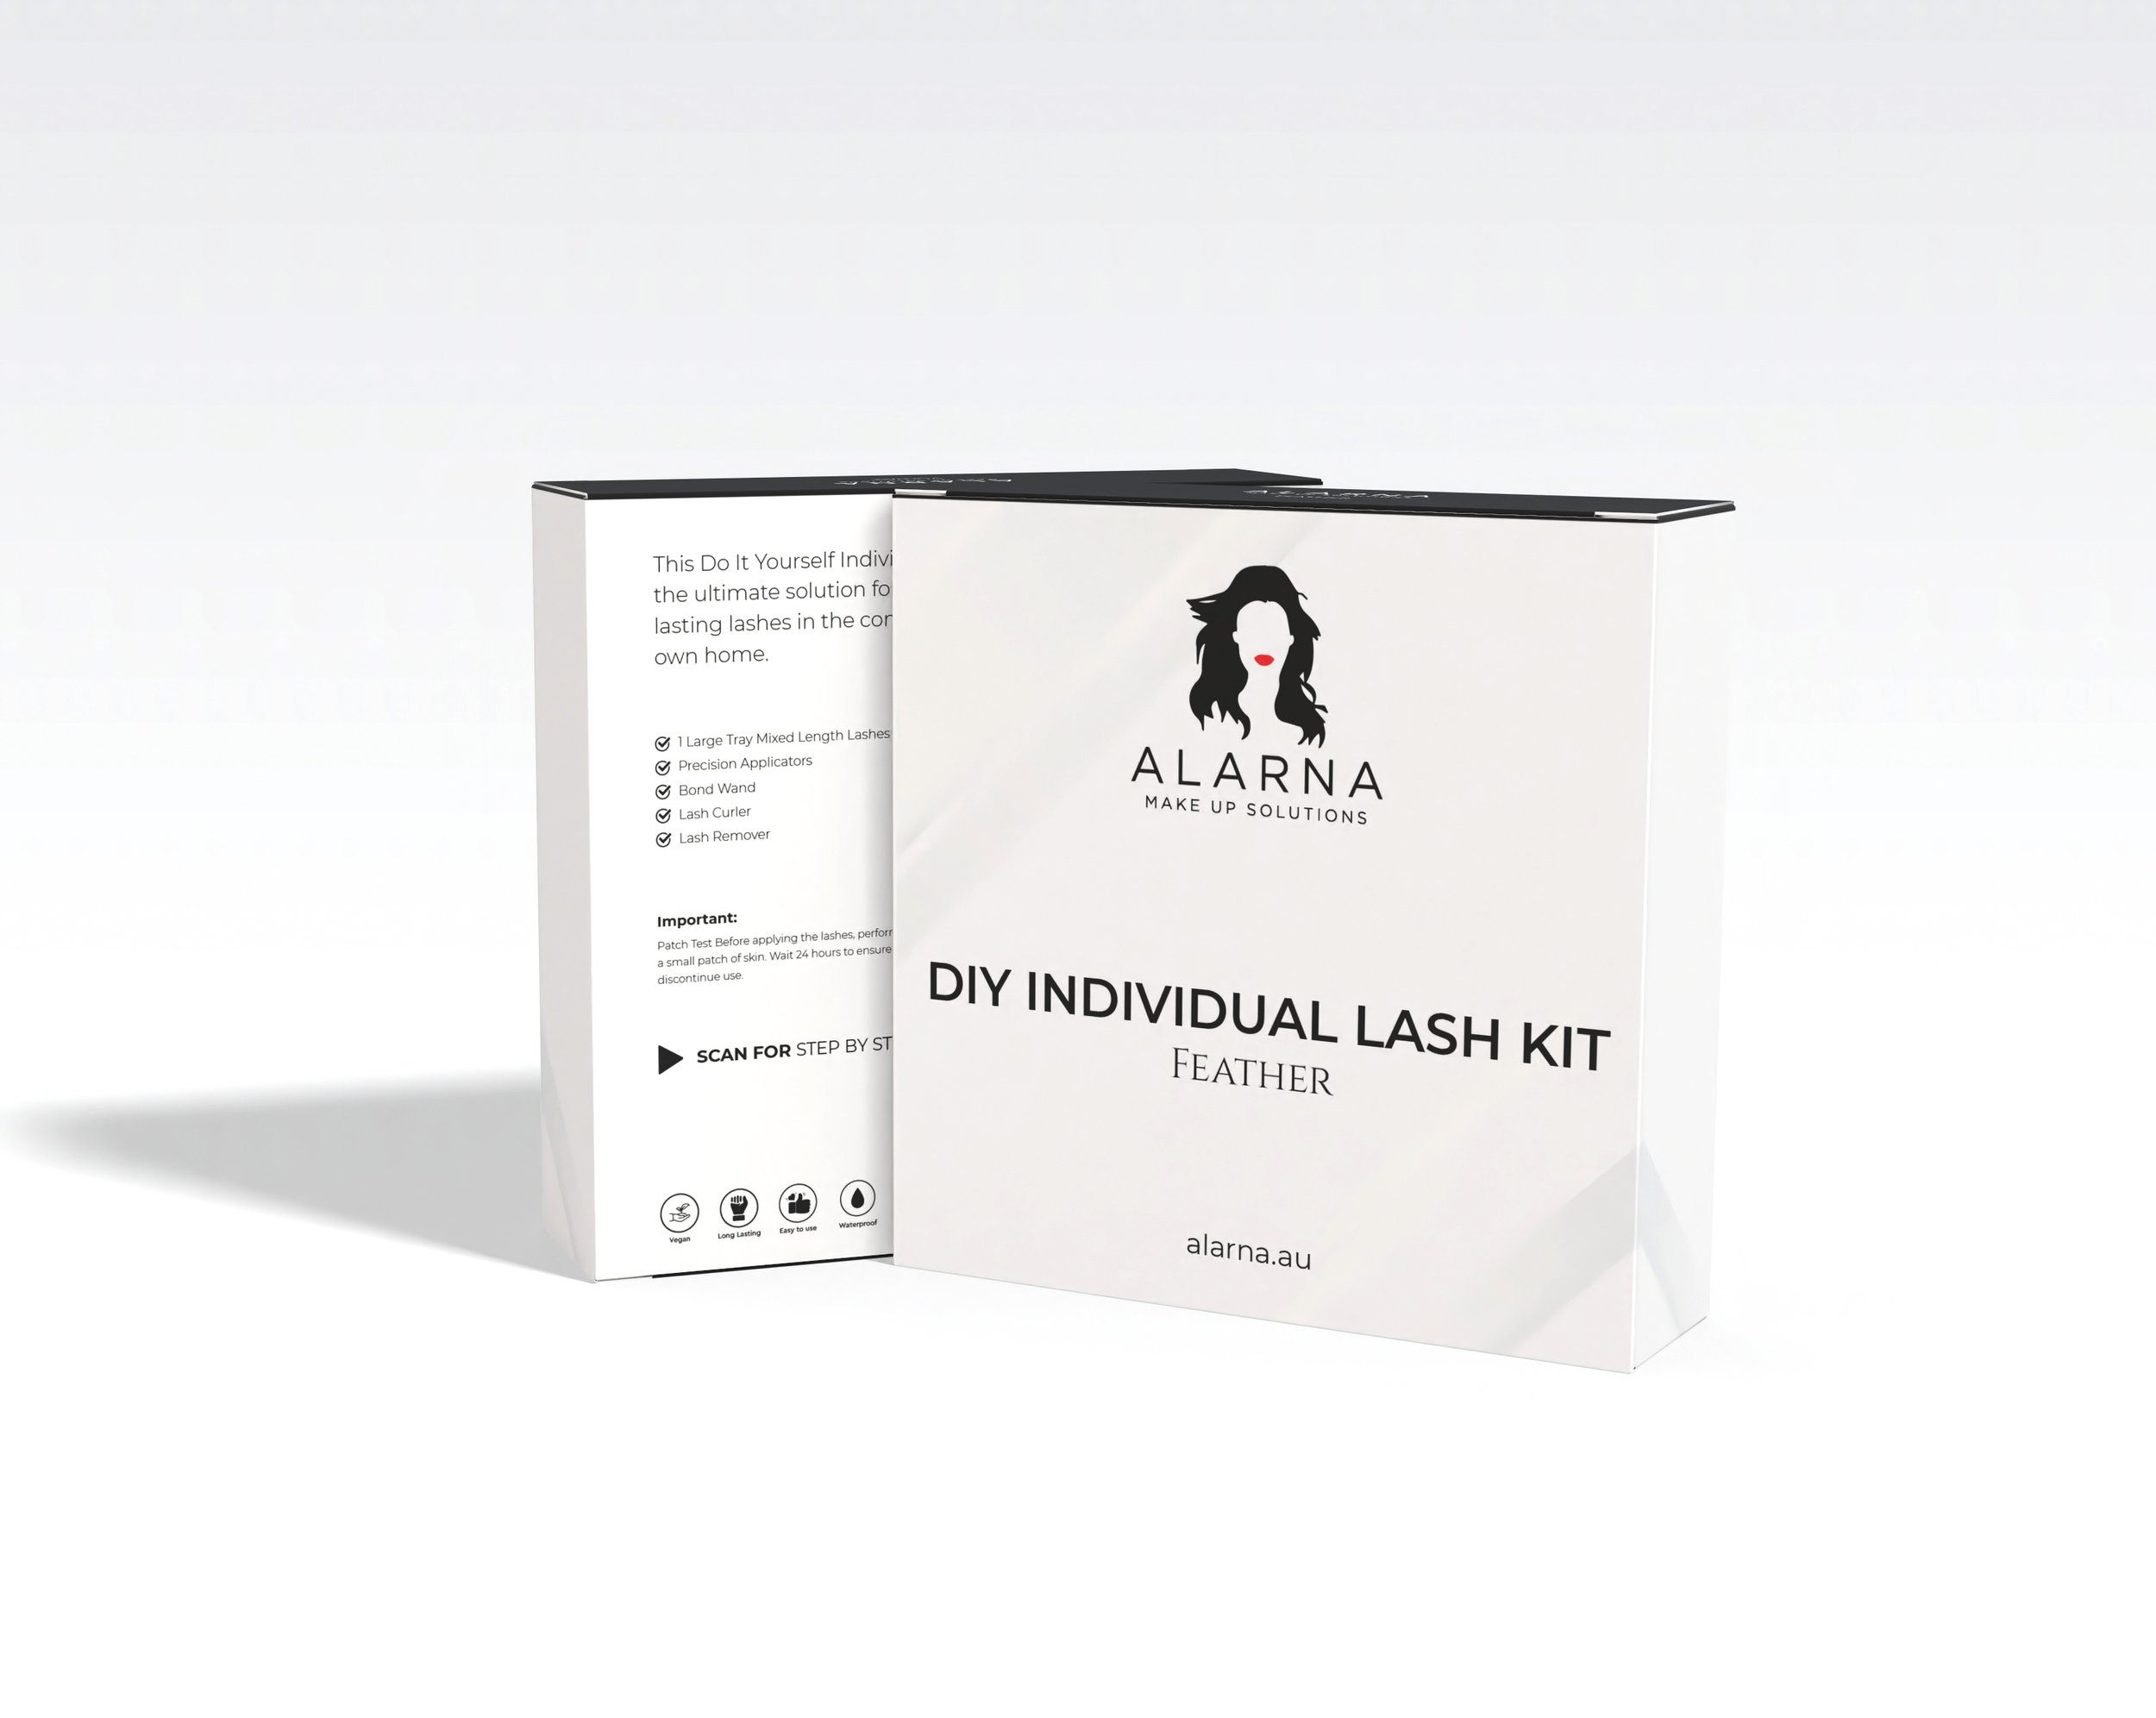 Image 10 of 10
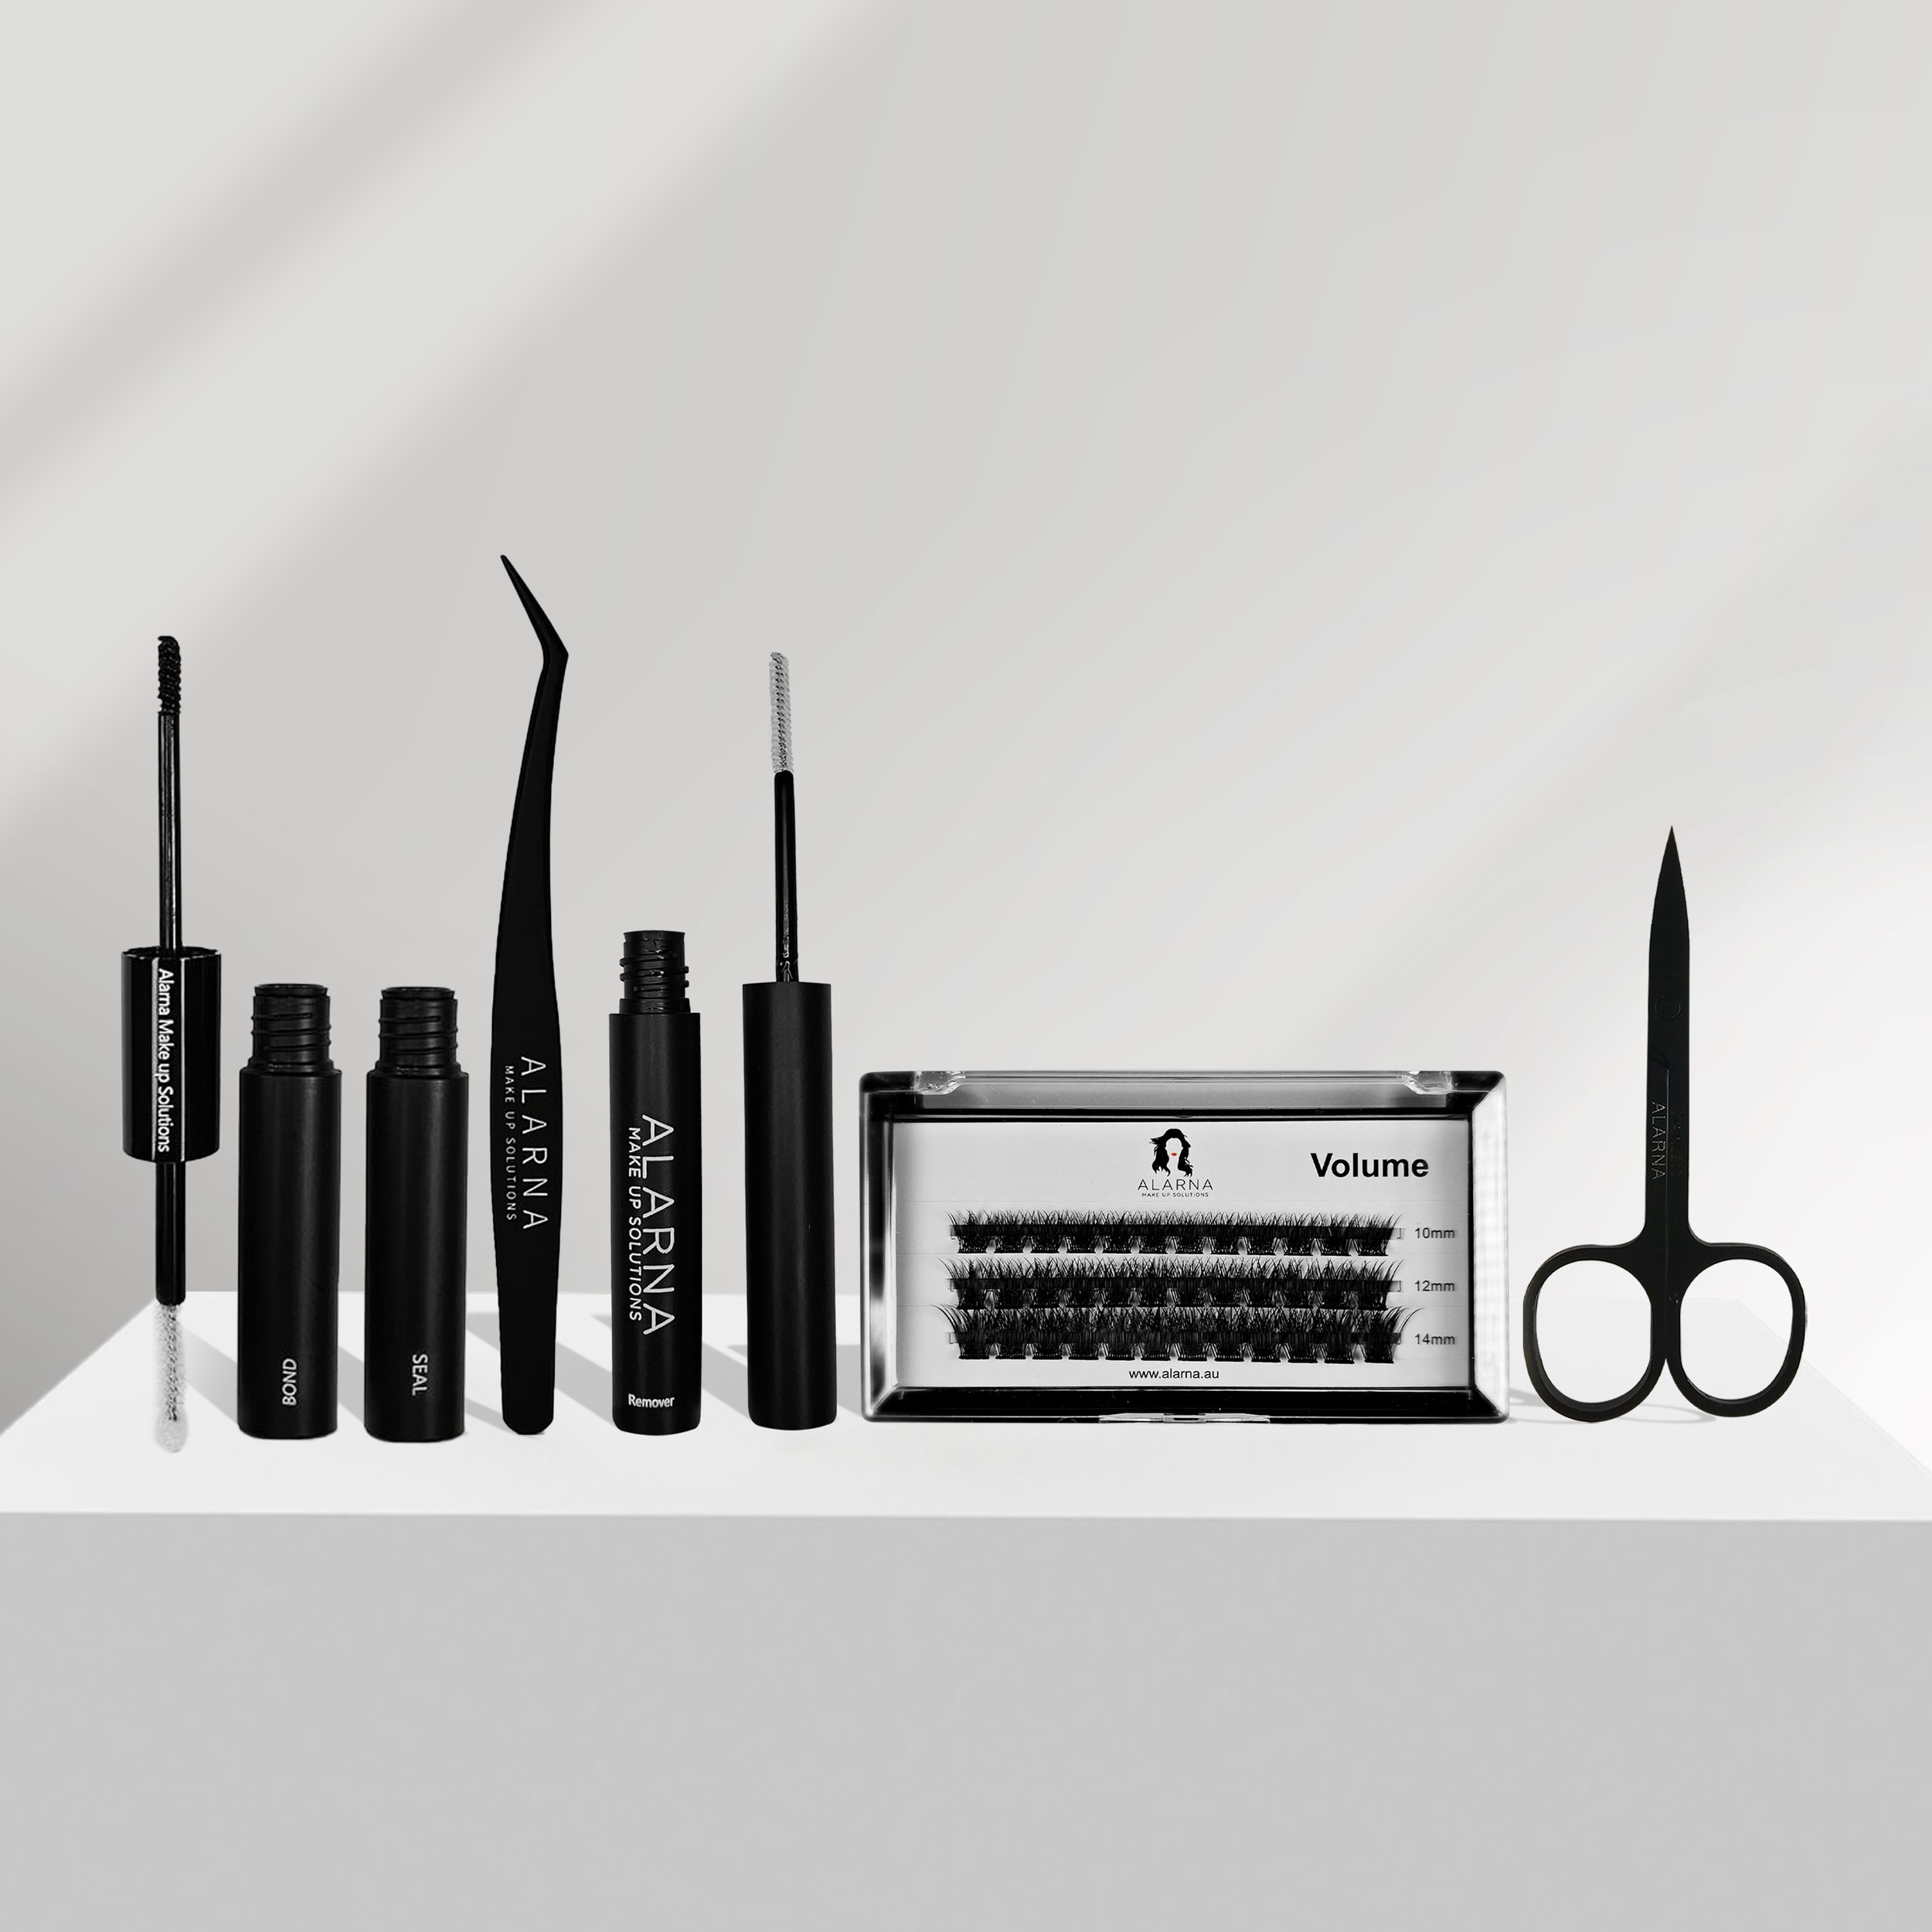
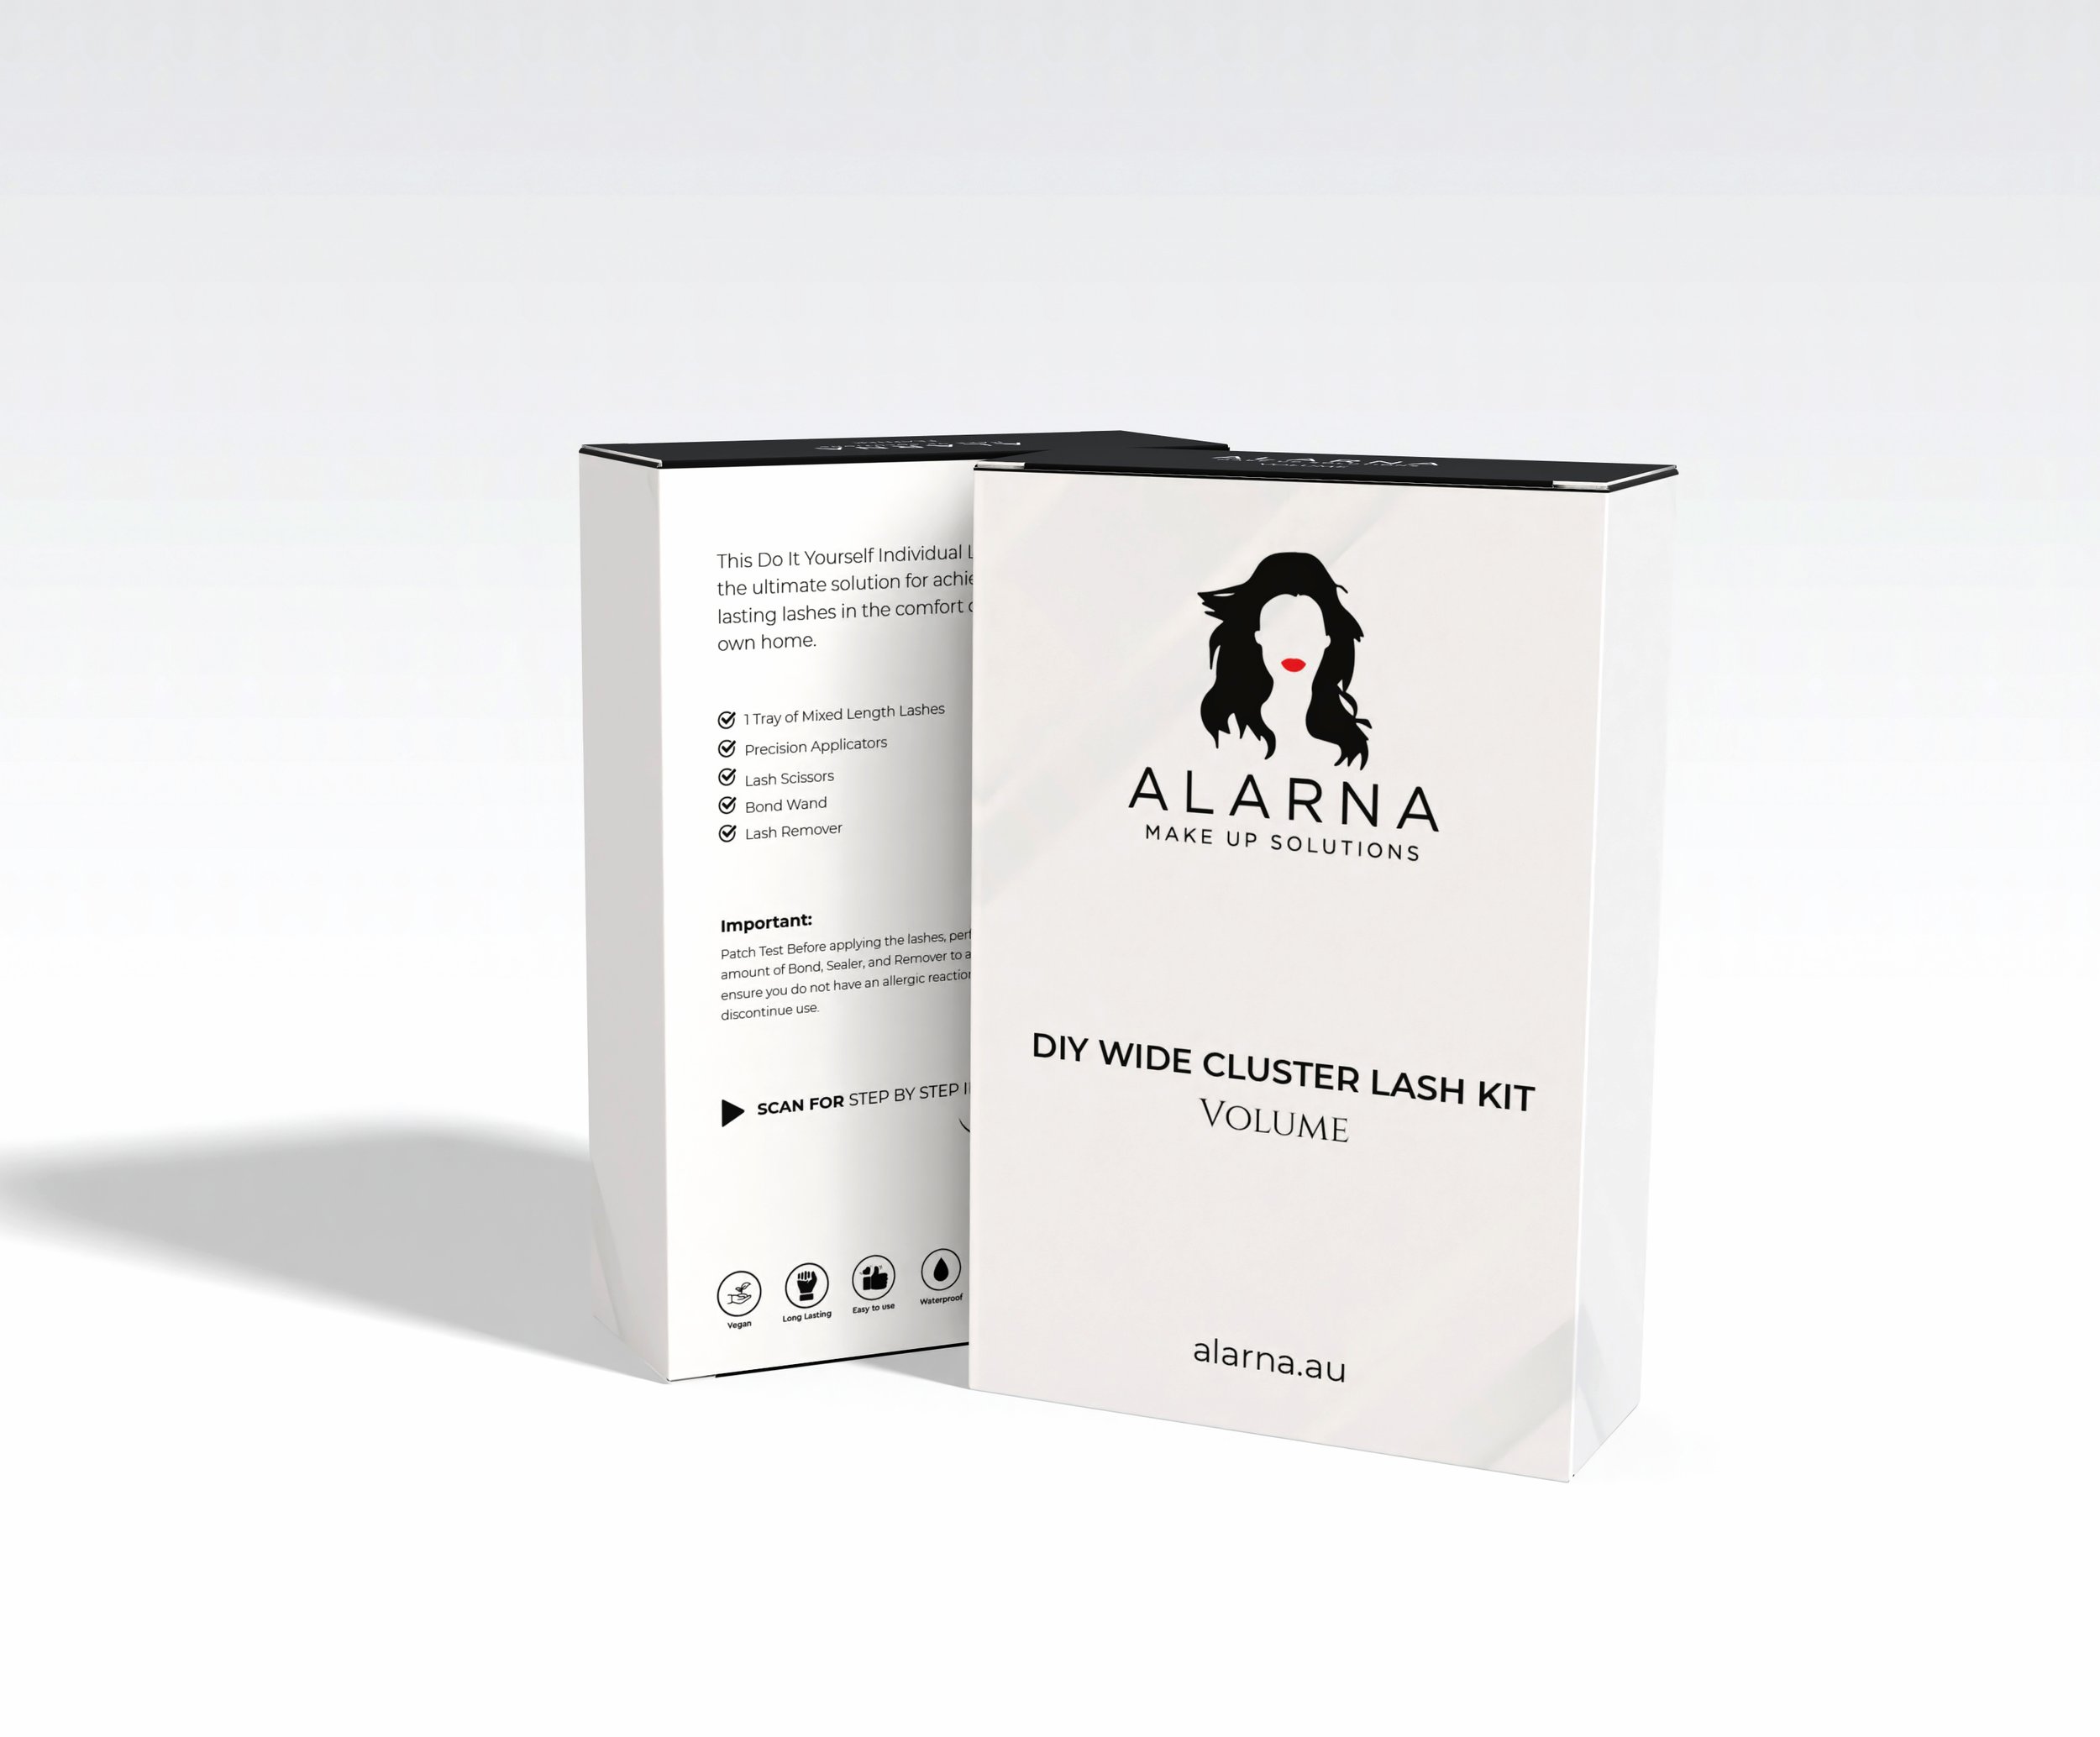
DIY Individual Lashes Kit


Watch these how to videos to take you through step by step instructions
Method of Application for DIY Wide Cluster Lashes
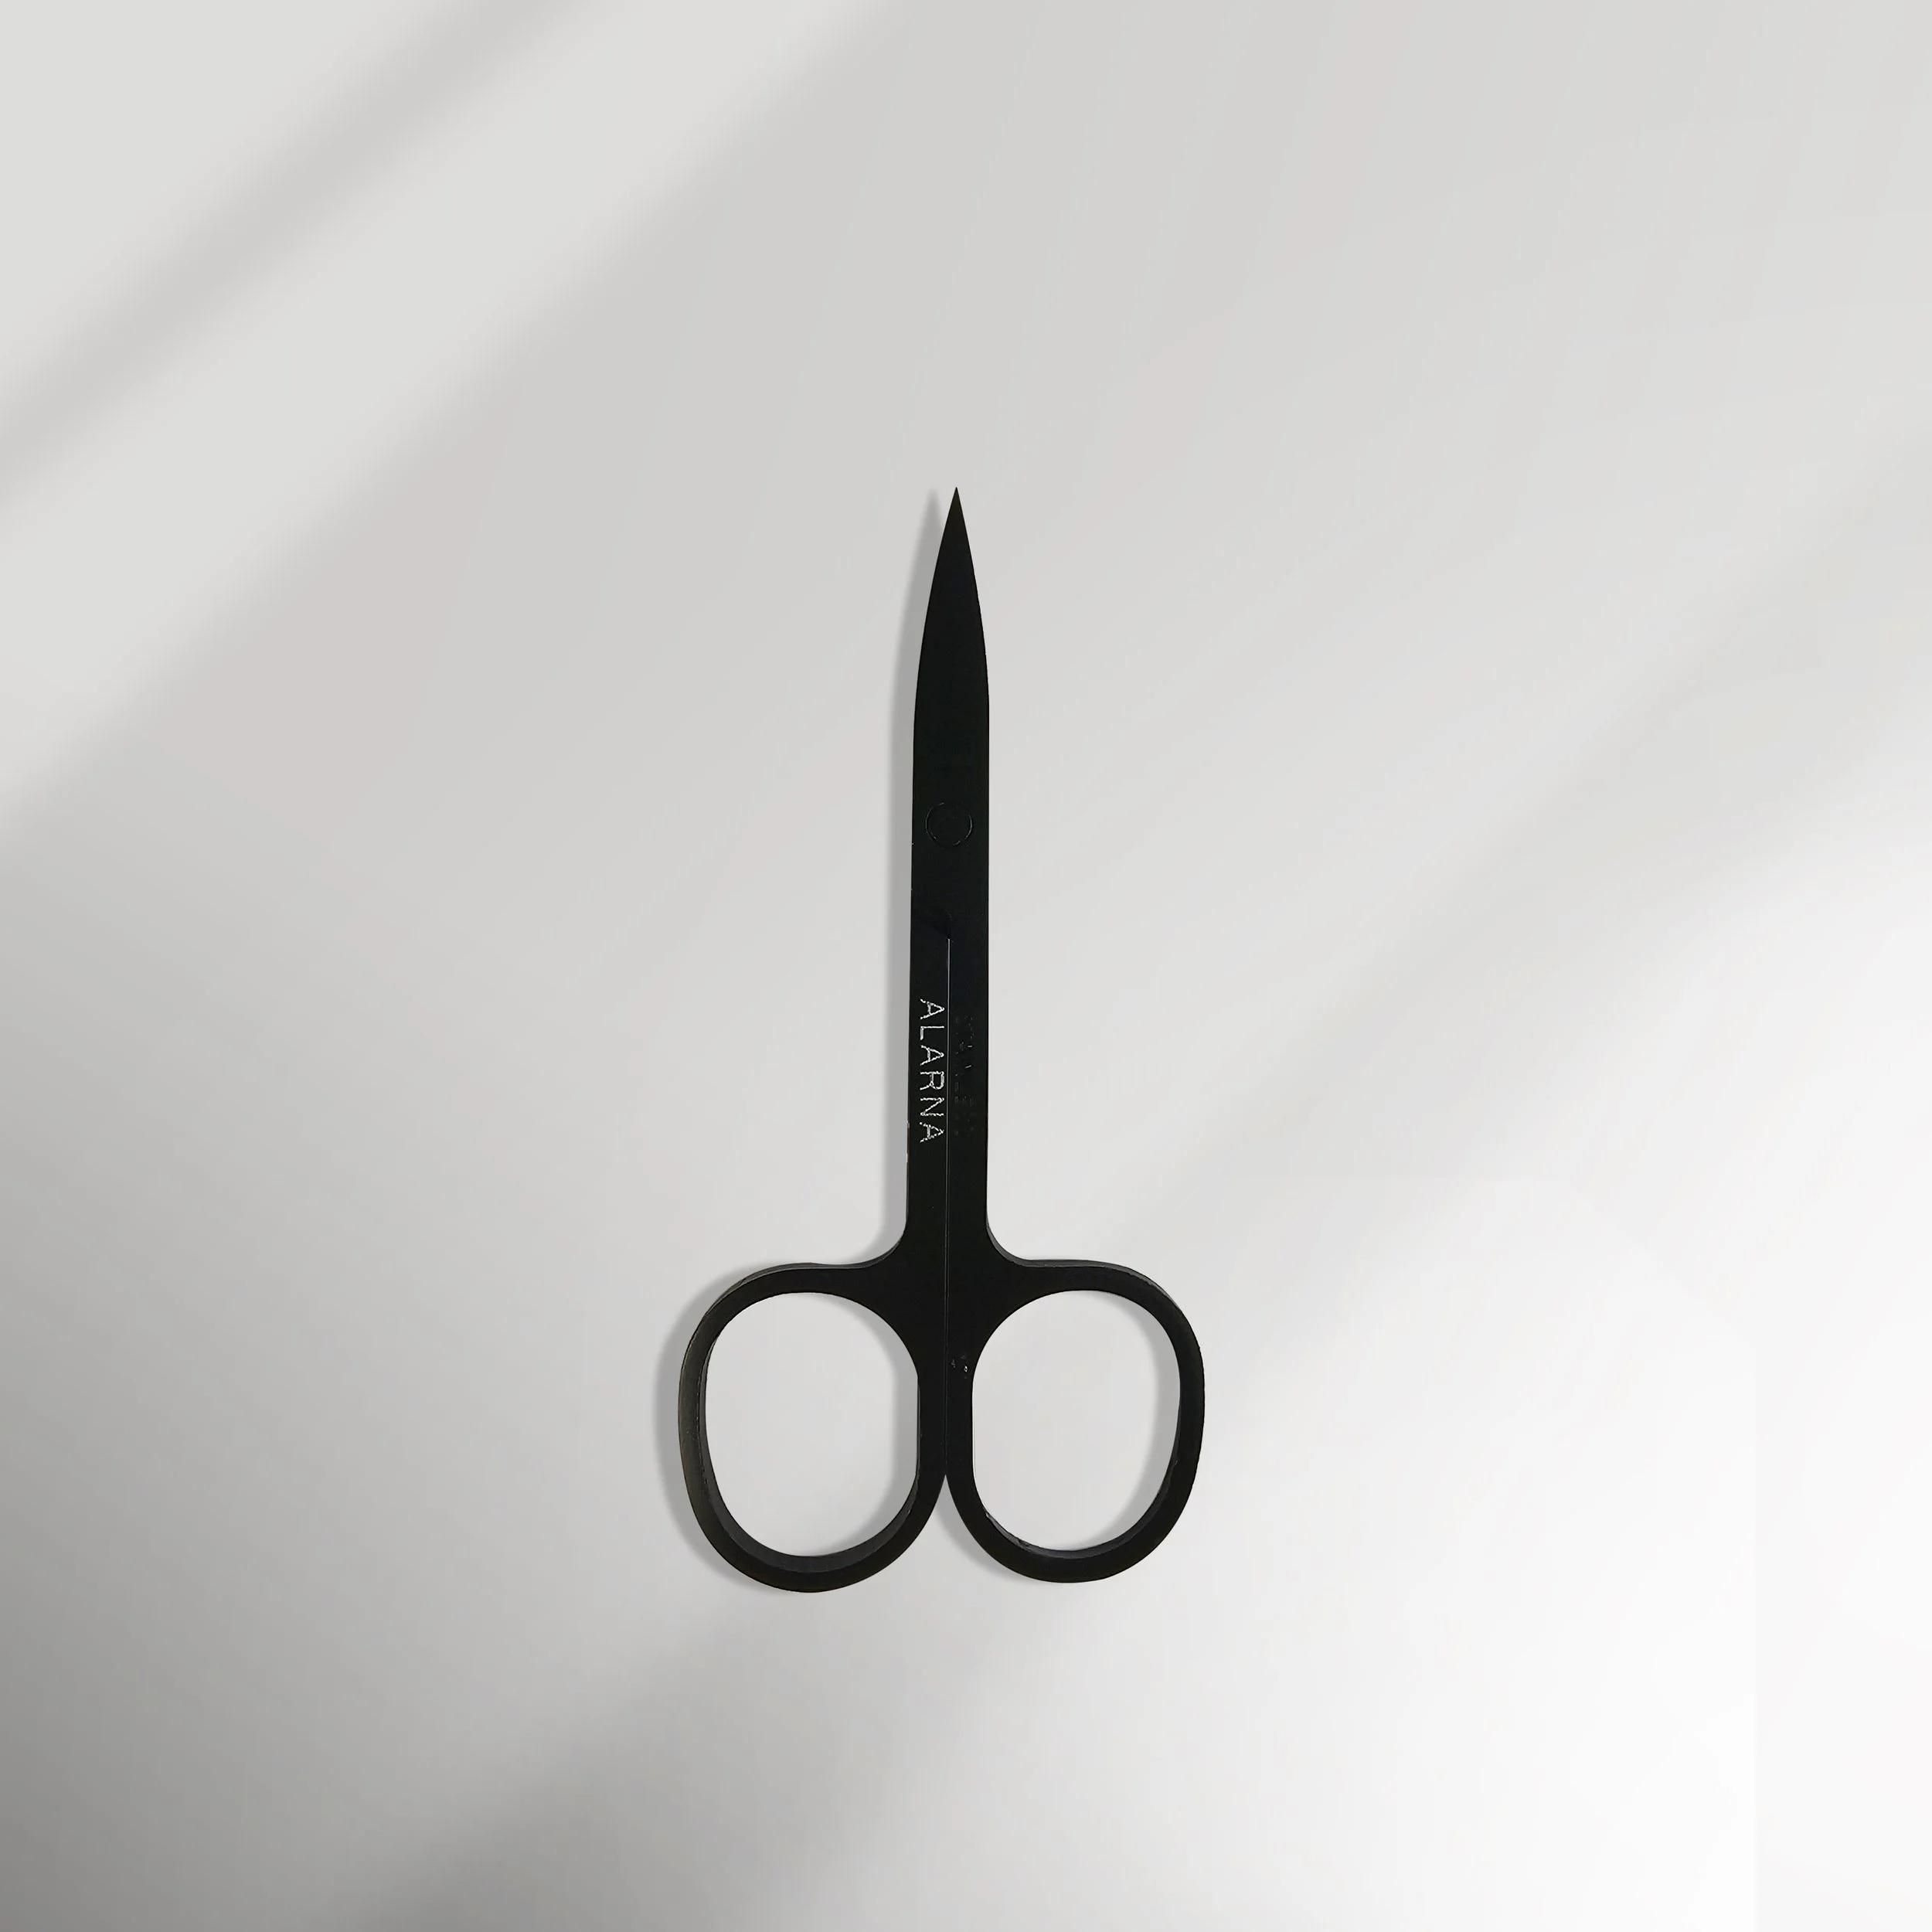
1. Curl Lashes
Using the Lash Curler, curl your natural lashes for some extra lift.
2. Prep and Bond:
Apply a small amount of bond to the under base of your natural lash line using the Bond Wand. Ensure the bond is evenly distributed for optimal adhesion.
3. Select and Position:
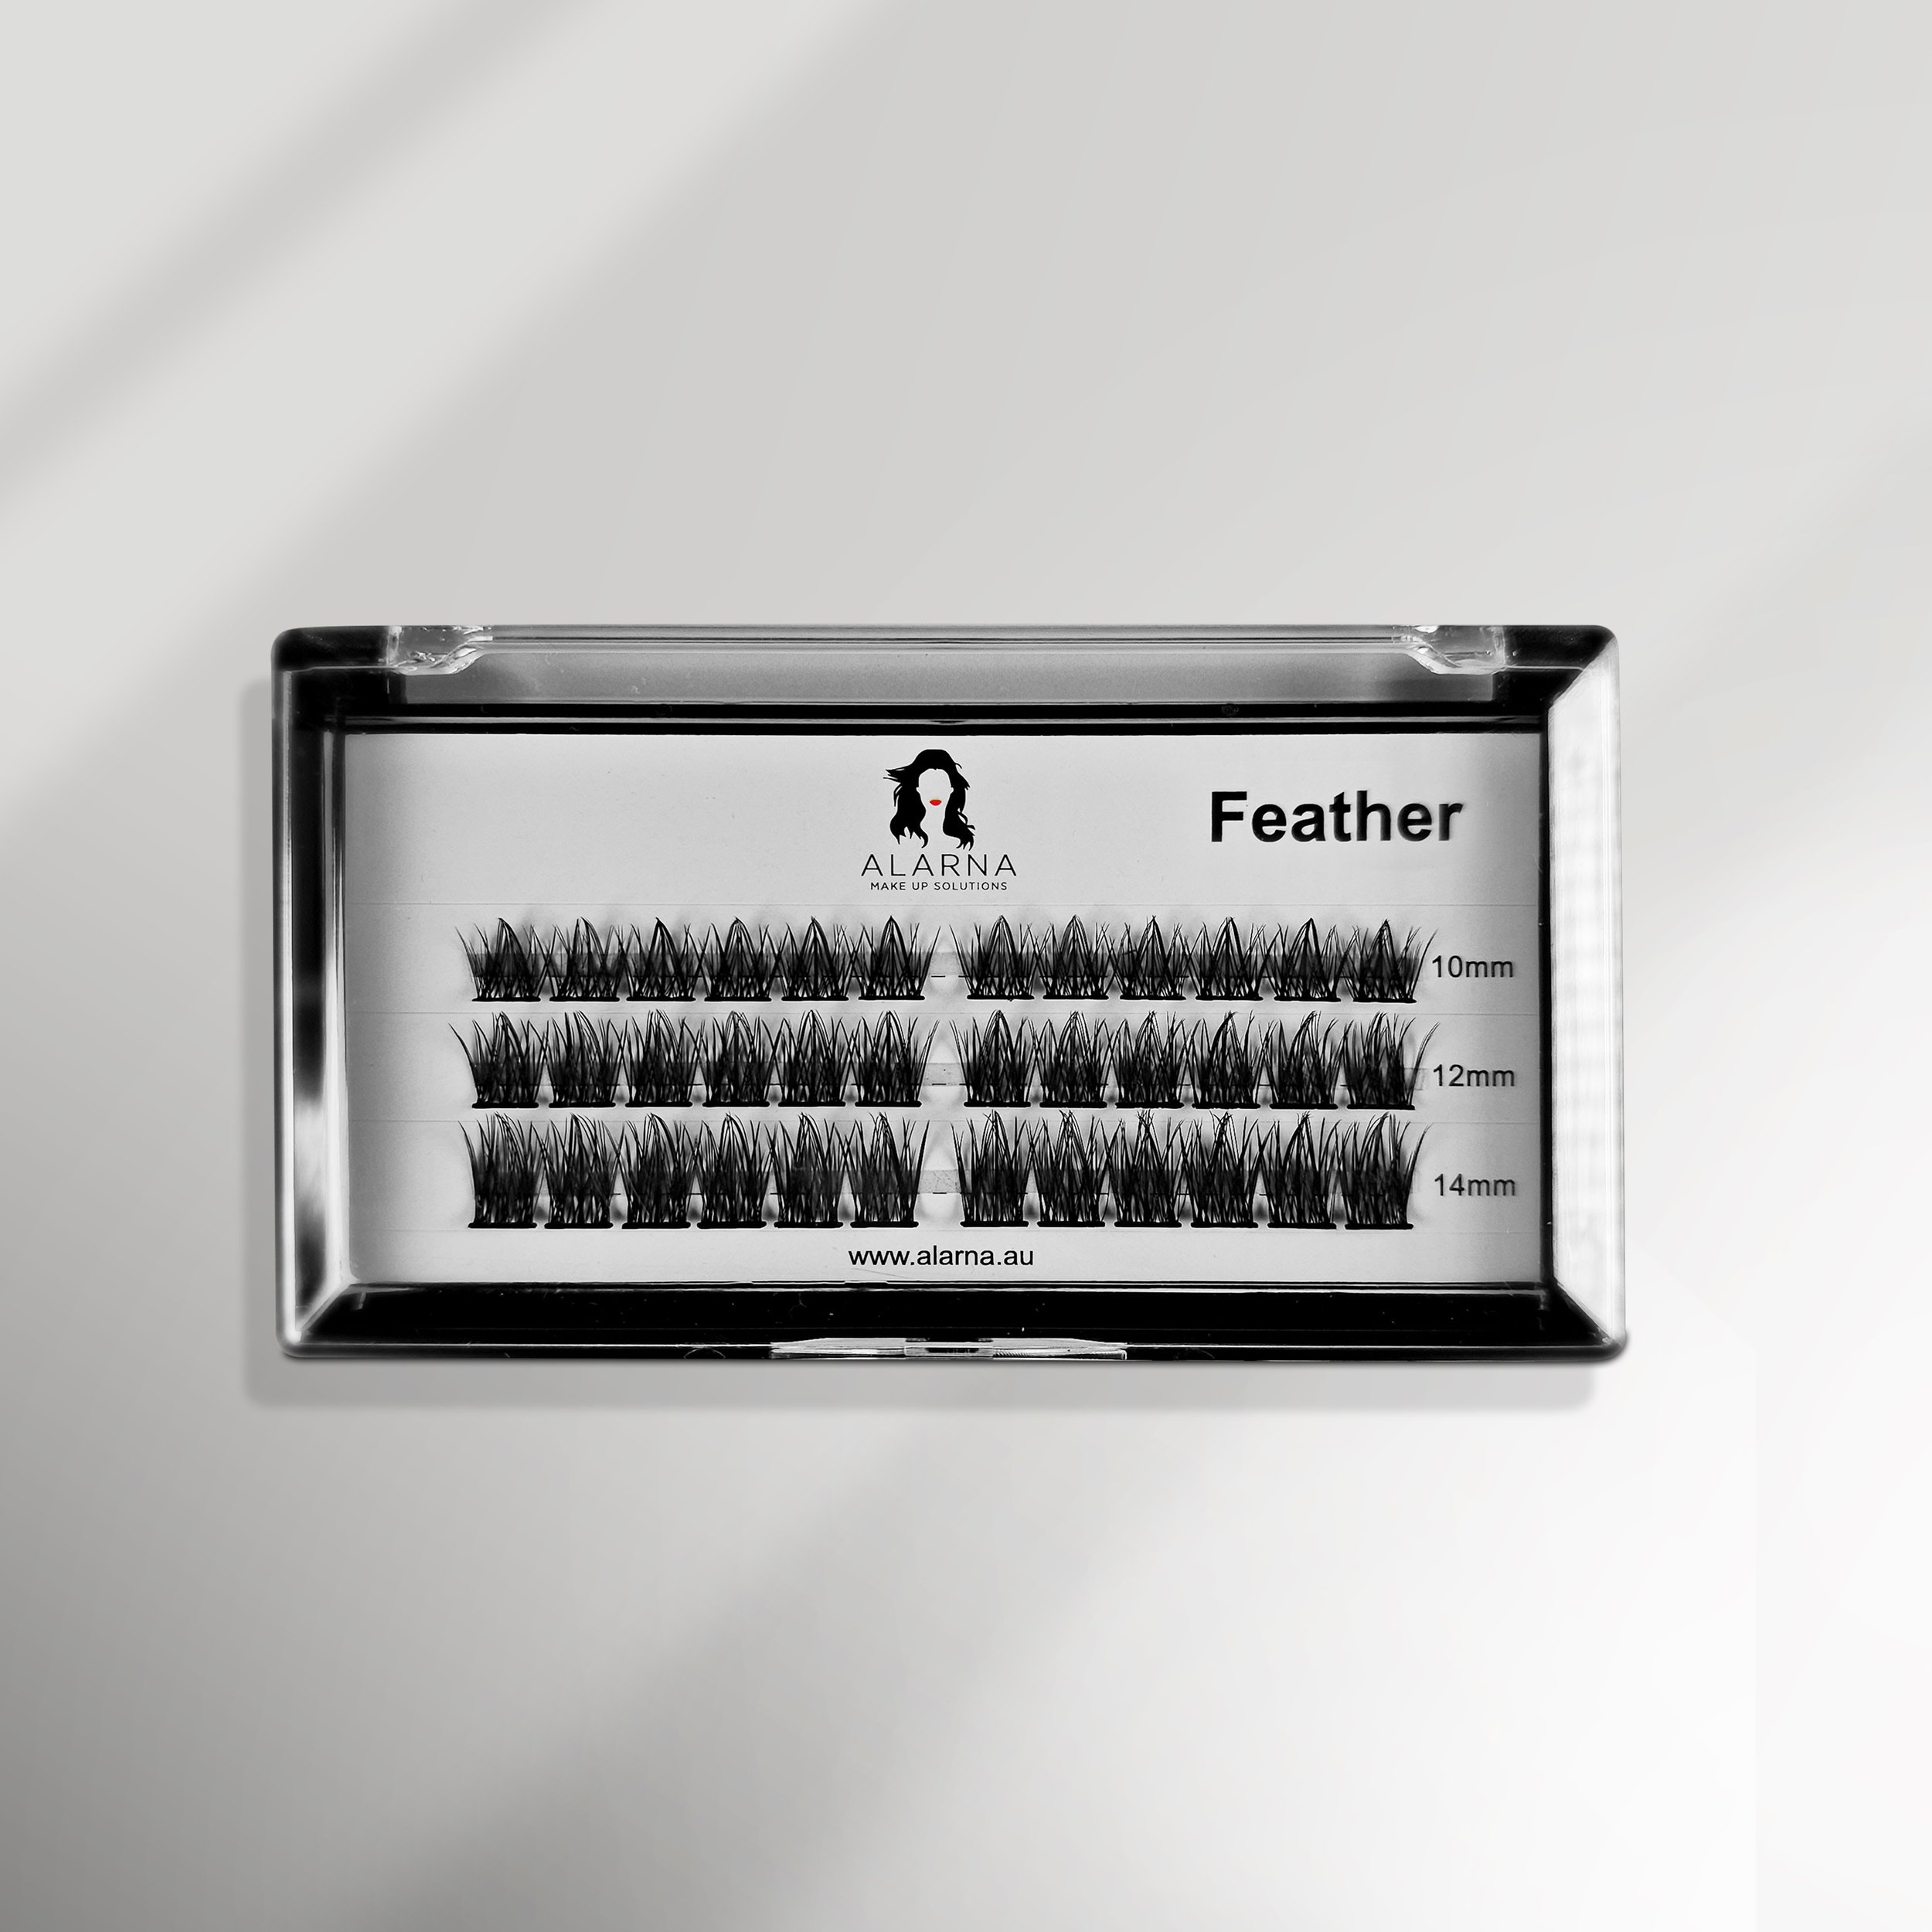
Using the Precision Applicators, select the desired length lash cluster from the tray.
Hold the lash cluster right at the fluffy tip with the Precision Applicators.
4. Apply the Lash Cluster:
Gently apply the lash cluster to the base of your natural lashes, positioning it precisely at the bonded area.
Lift the cluster up slightly, ensuring that the angle matches the natural curve of your lash line for a seamless blend.
Continue this process, working along your lash line until you achieve your desired look.
5. Seal and Secure:
Once all lash clusters are in place, use the sealer applicator end of the Bond Wand to apply a small amount of sealer over the bonded areas only. This will lock in and secure the lashes for long-lasting wear. Then using the Precision applicator clamp the lashes together to fuse.
6. Removal:
When it's time to remove your lashes, use the Lash Remover. Gently rub the remover wand over the bonded areas several times until the lashes start to fall away naturally.
Continue to use the remover to clean off any excess residue from your natural lashes, leaving them nourished and healthy.
Enjoy your stunning, professional-quality lashes with ease and confidence!
Important: Patch Test Before applying the lashes, perform a patch test by applying a small amount of Bond, Sealer, and Remover to a small patch of skin. Wait 24 hours to ensure you do not have an allergic reaction. If any redness or itchiness occurs, discontinue use.